
Monoprinting on Clay - Lesson Plan
Posted by Angela -LaLa on Apr 3rd 2022
One of my favorite techniques got dusted off last month when I was asked to be a guest artist at East Tipp Middle School. When given the opportunity to do whatever I want it usually falls in two categories: throwing on the pottery wheel or painting in some way. Monoprinting is a process of putting paint materials or pigments on paper, plaster or any medium to then transfer the one-time print onto whatever surface you are working on.
The demonstration at the middle school involved building two coil pots. One to demonstrate on and another for students to print, stamp and carve on. I had precut paper and house made slips on hand to use to print with. Printing is always a reversal process and is the hardest to understand. Having one demo piece available helped the students know what was going to happen.
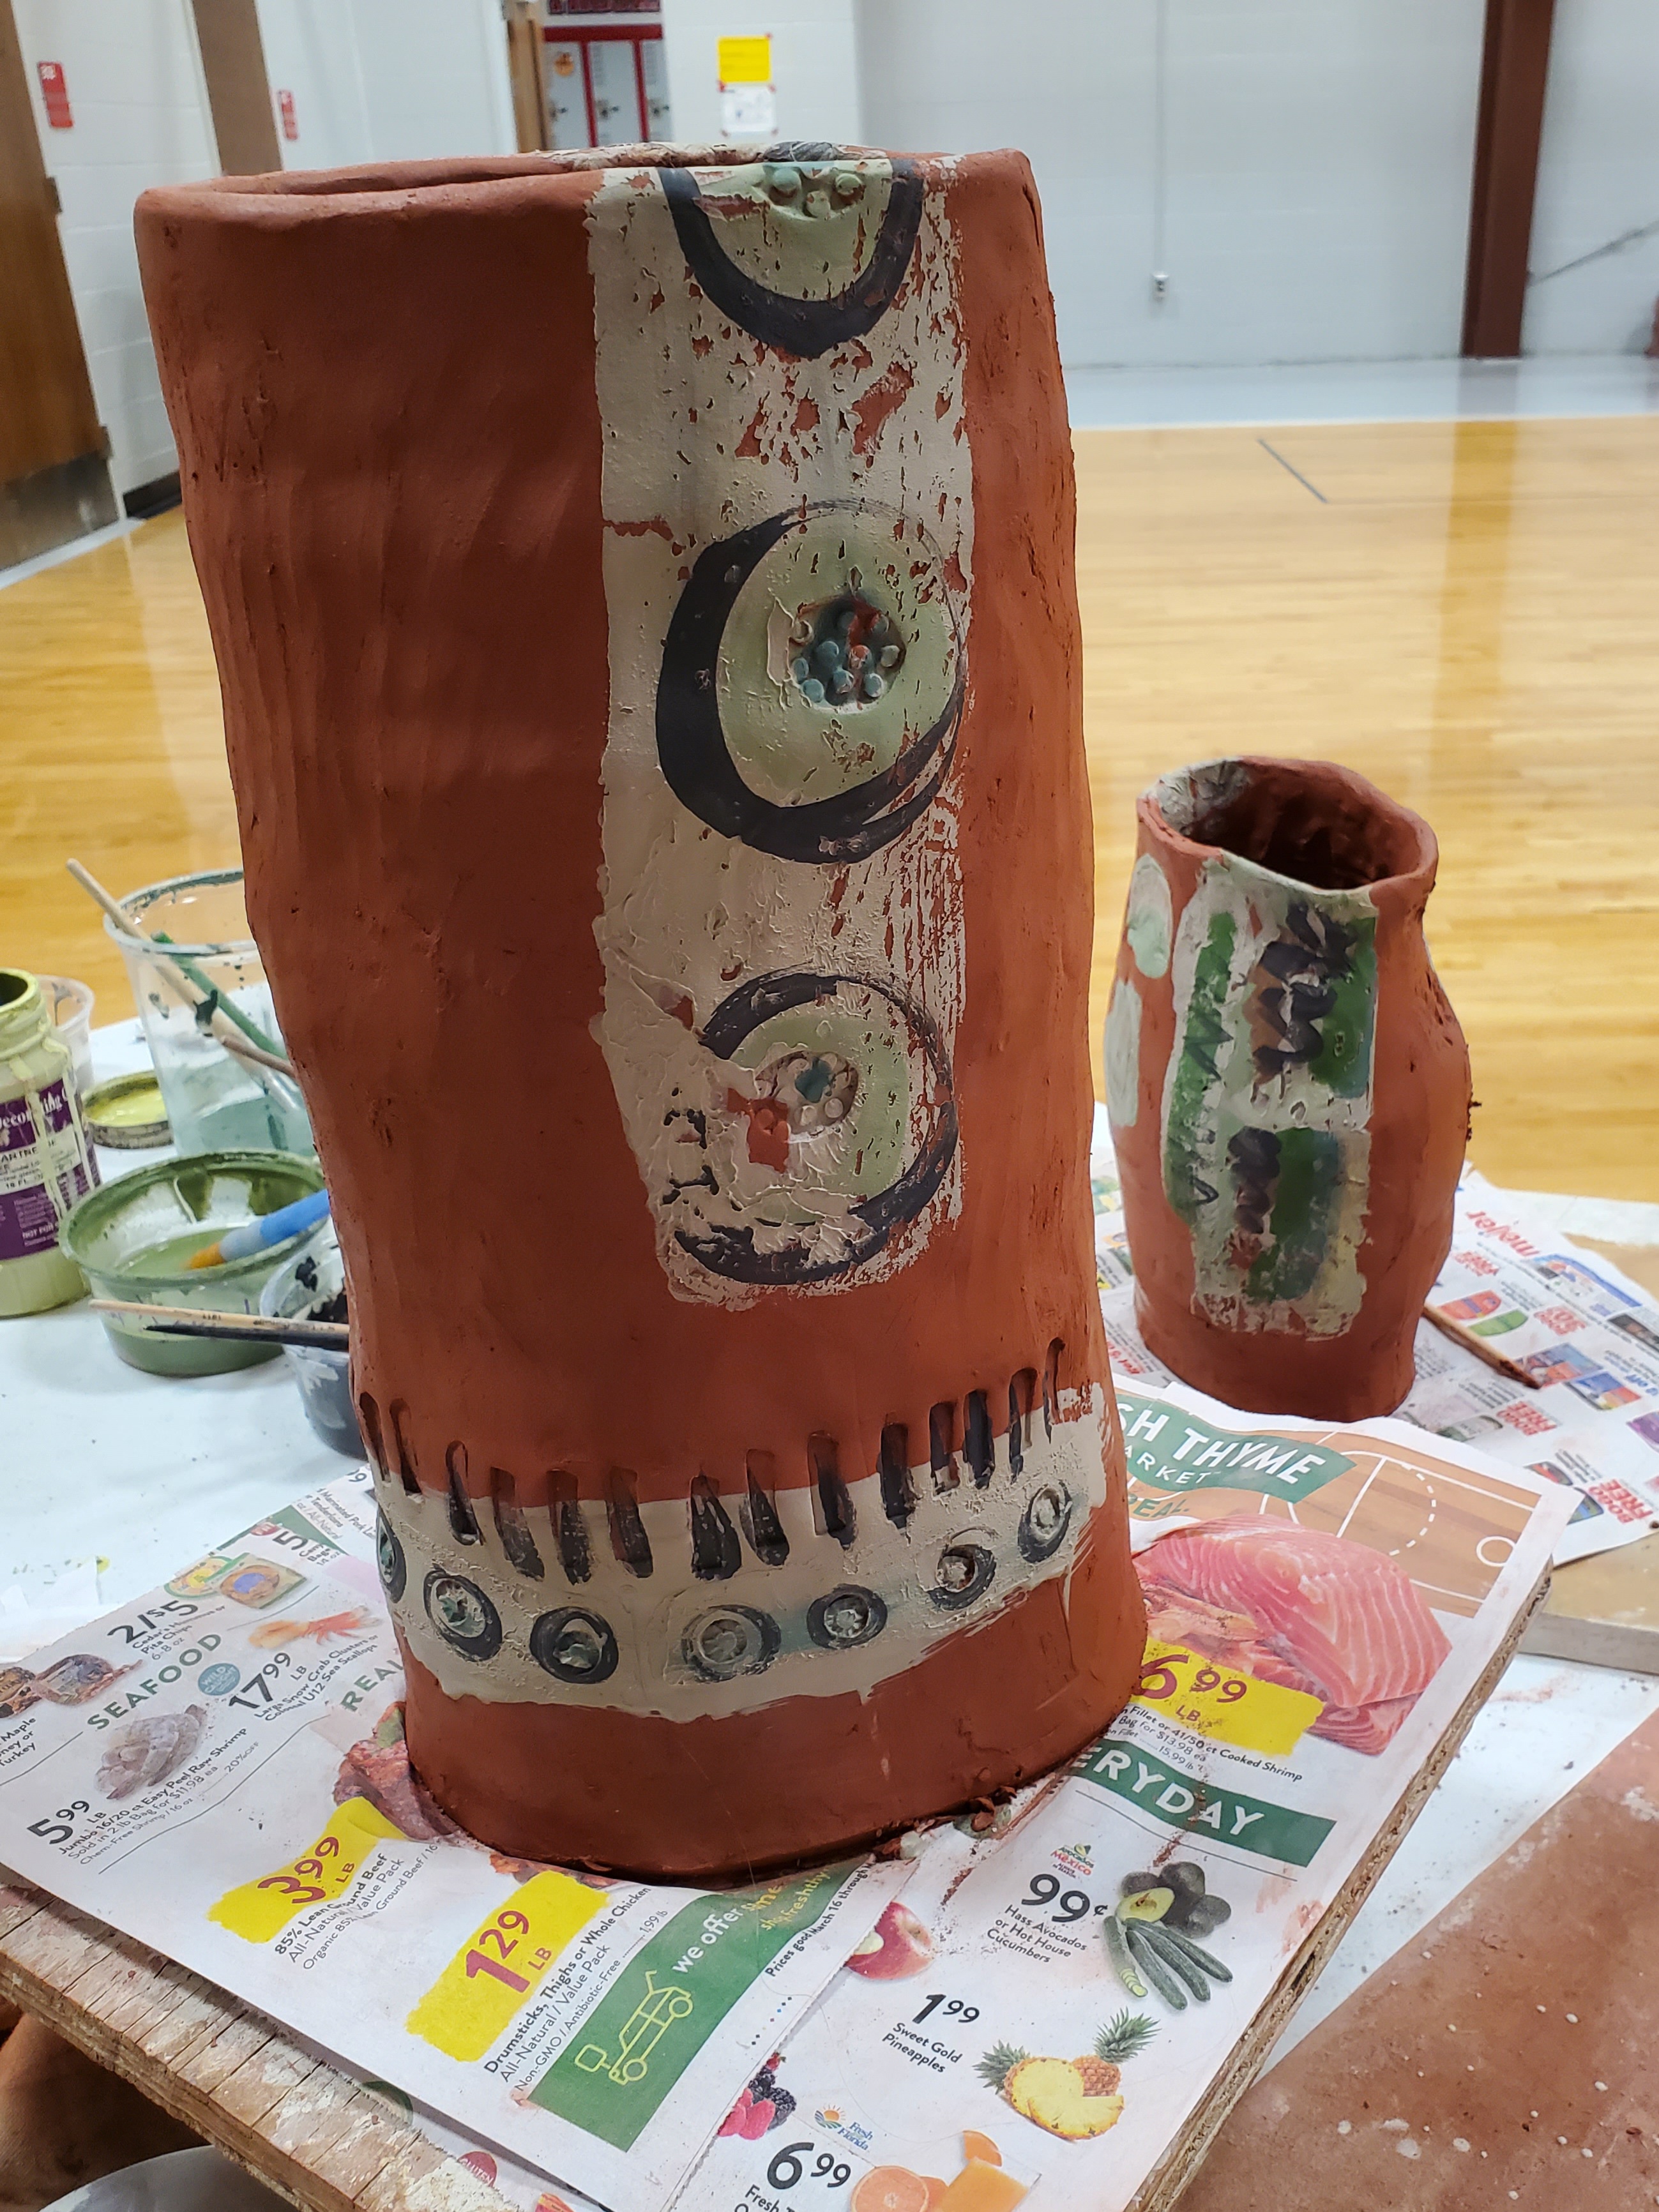
Here are the finished sculpture pieces created at the East Tipp event.
This is a great lesson plan for K-12 teachers and even will push college students and beyond to really think about how to build up depth and interesting textures to the surface of clay.
Supplies:
Leather hard clay tiles/ forms
Newspaper, copy paper or newsprint
Casting Slip *optional - Cone 5 (https://www.amaco.com/products/slip-1...)
Paint brushes Color Slips, underglaze or ceramic stains/pigments
Start with a leather hard project and paint pigments onto paper scraps. All of your small details have to be painted first and then the background is built up. It is just like painting on a window from the inside, or like pancake drawing. Whatever mark you make first becomes your top, and you build up your background.
Apply casting slip to the paper or the surface of the project. Work quickly and attach your paper to your project. Rub and let it sit for 2-10minutes. The longer you wait the clearer your image will be. I really like using the casting slip to help release the colors onto the form, but it is not necessary. You can spray your form lightly with water to help release the ceramic pigments onto your piece.
Pull the paper off and once the surface is dry to the touch you can stamp, carve or leave it as is. Designs can be as complex or as simple as you would like.
Quite a few tips are given in the step by step video below.